I know it’s not the season for this dish but earlier this week, as the weather here in NY finally turned it’s face to the Fall, I found myself craving a taste of the long lost Spring of 2015. An hour of shopping later, I had assembled the ingredients for a Risotto Primavera
Making Risotto is an art – its taken me some time to perfect a recipe that works. It is also (sorry!) a little time consuming. However, it’s worth it! There is simply nothing better than this Italian comfort food on a chilly Autumnal eve
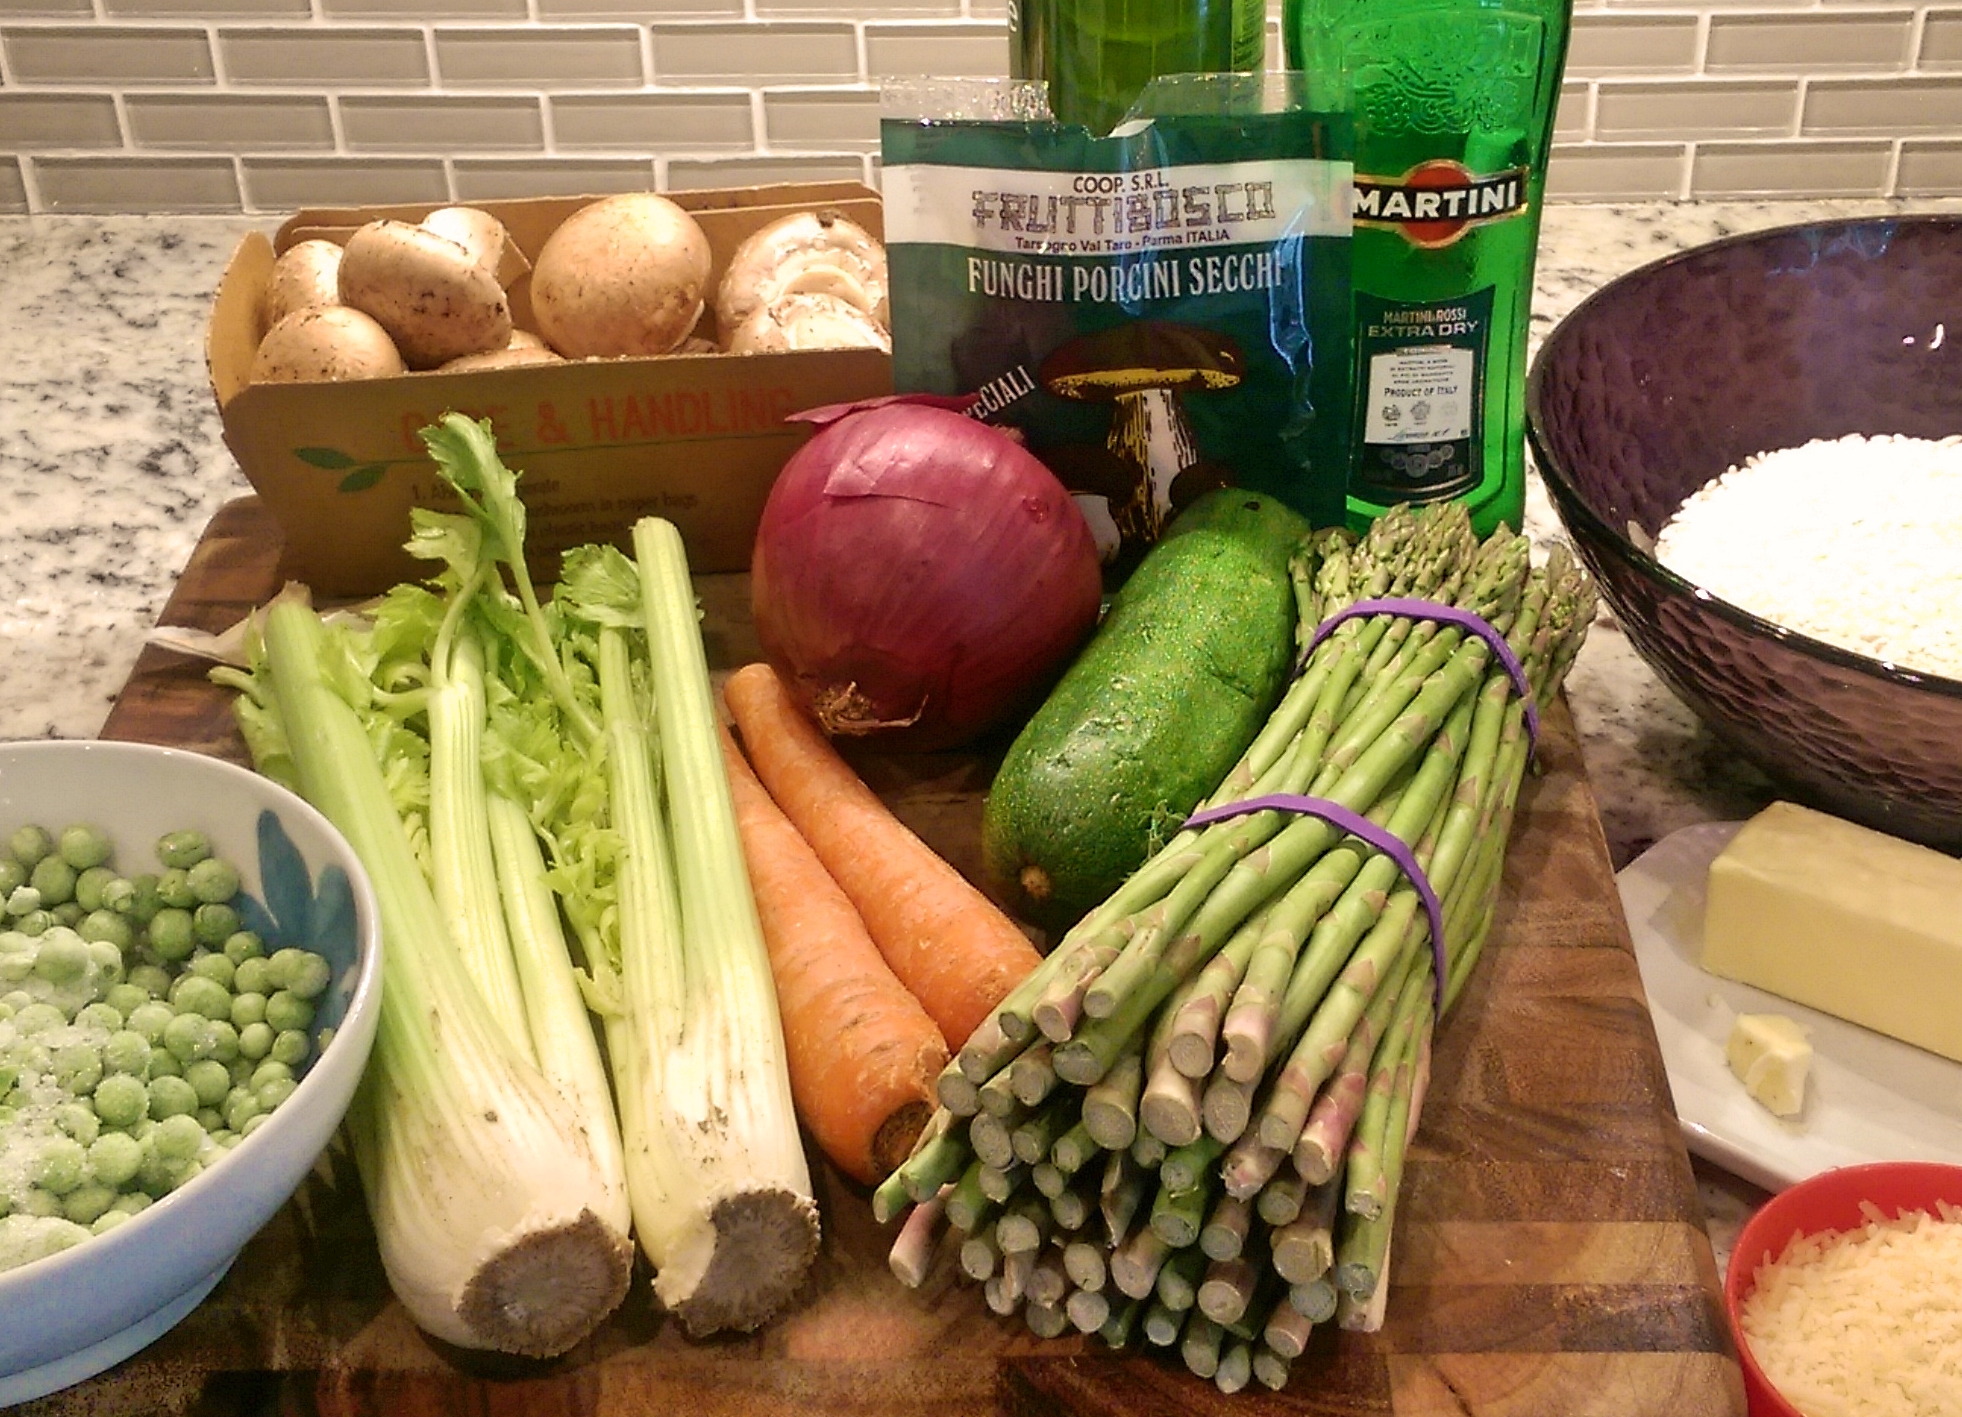
Ingredients ready on the board
Ingredients
- 11 oz of washed Carnaroli or Arborio risotto rice (tip – if you can get it, carnaroli is best)
- 1 pt warm vegetable stock
- 1/2 oz dried porcini mushrooms
- 1 cup of Vermouth
- 1 medium red onion, or a couple of shallots and 3 sticks from a celery heart (tip – the white ones)
- 1 large clove of garlic, 6-8 asparagus spears, 1 carrot, 6-8 chestnut mushrooms, 1 zucchini (courgette) and 1/2 cup of frozen peas
- 1 cup of of chopped flat leaf parsley
- Extra virgin olive oil
- Butter
- 1 cup of grated Parmesan cheese
- Salt & Pepper
Method
- Place the porcini mushrooms in a bowl and pour around 2 cups of hot water over them, after 20 minutes strain out the mushrooms, roughly chop and set aside. Save the mushroom stock water

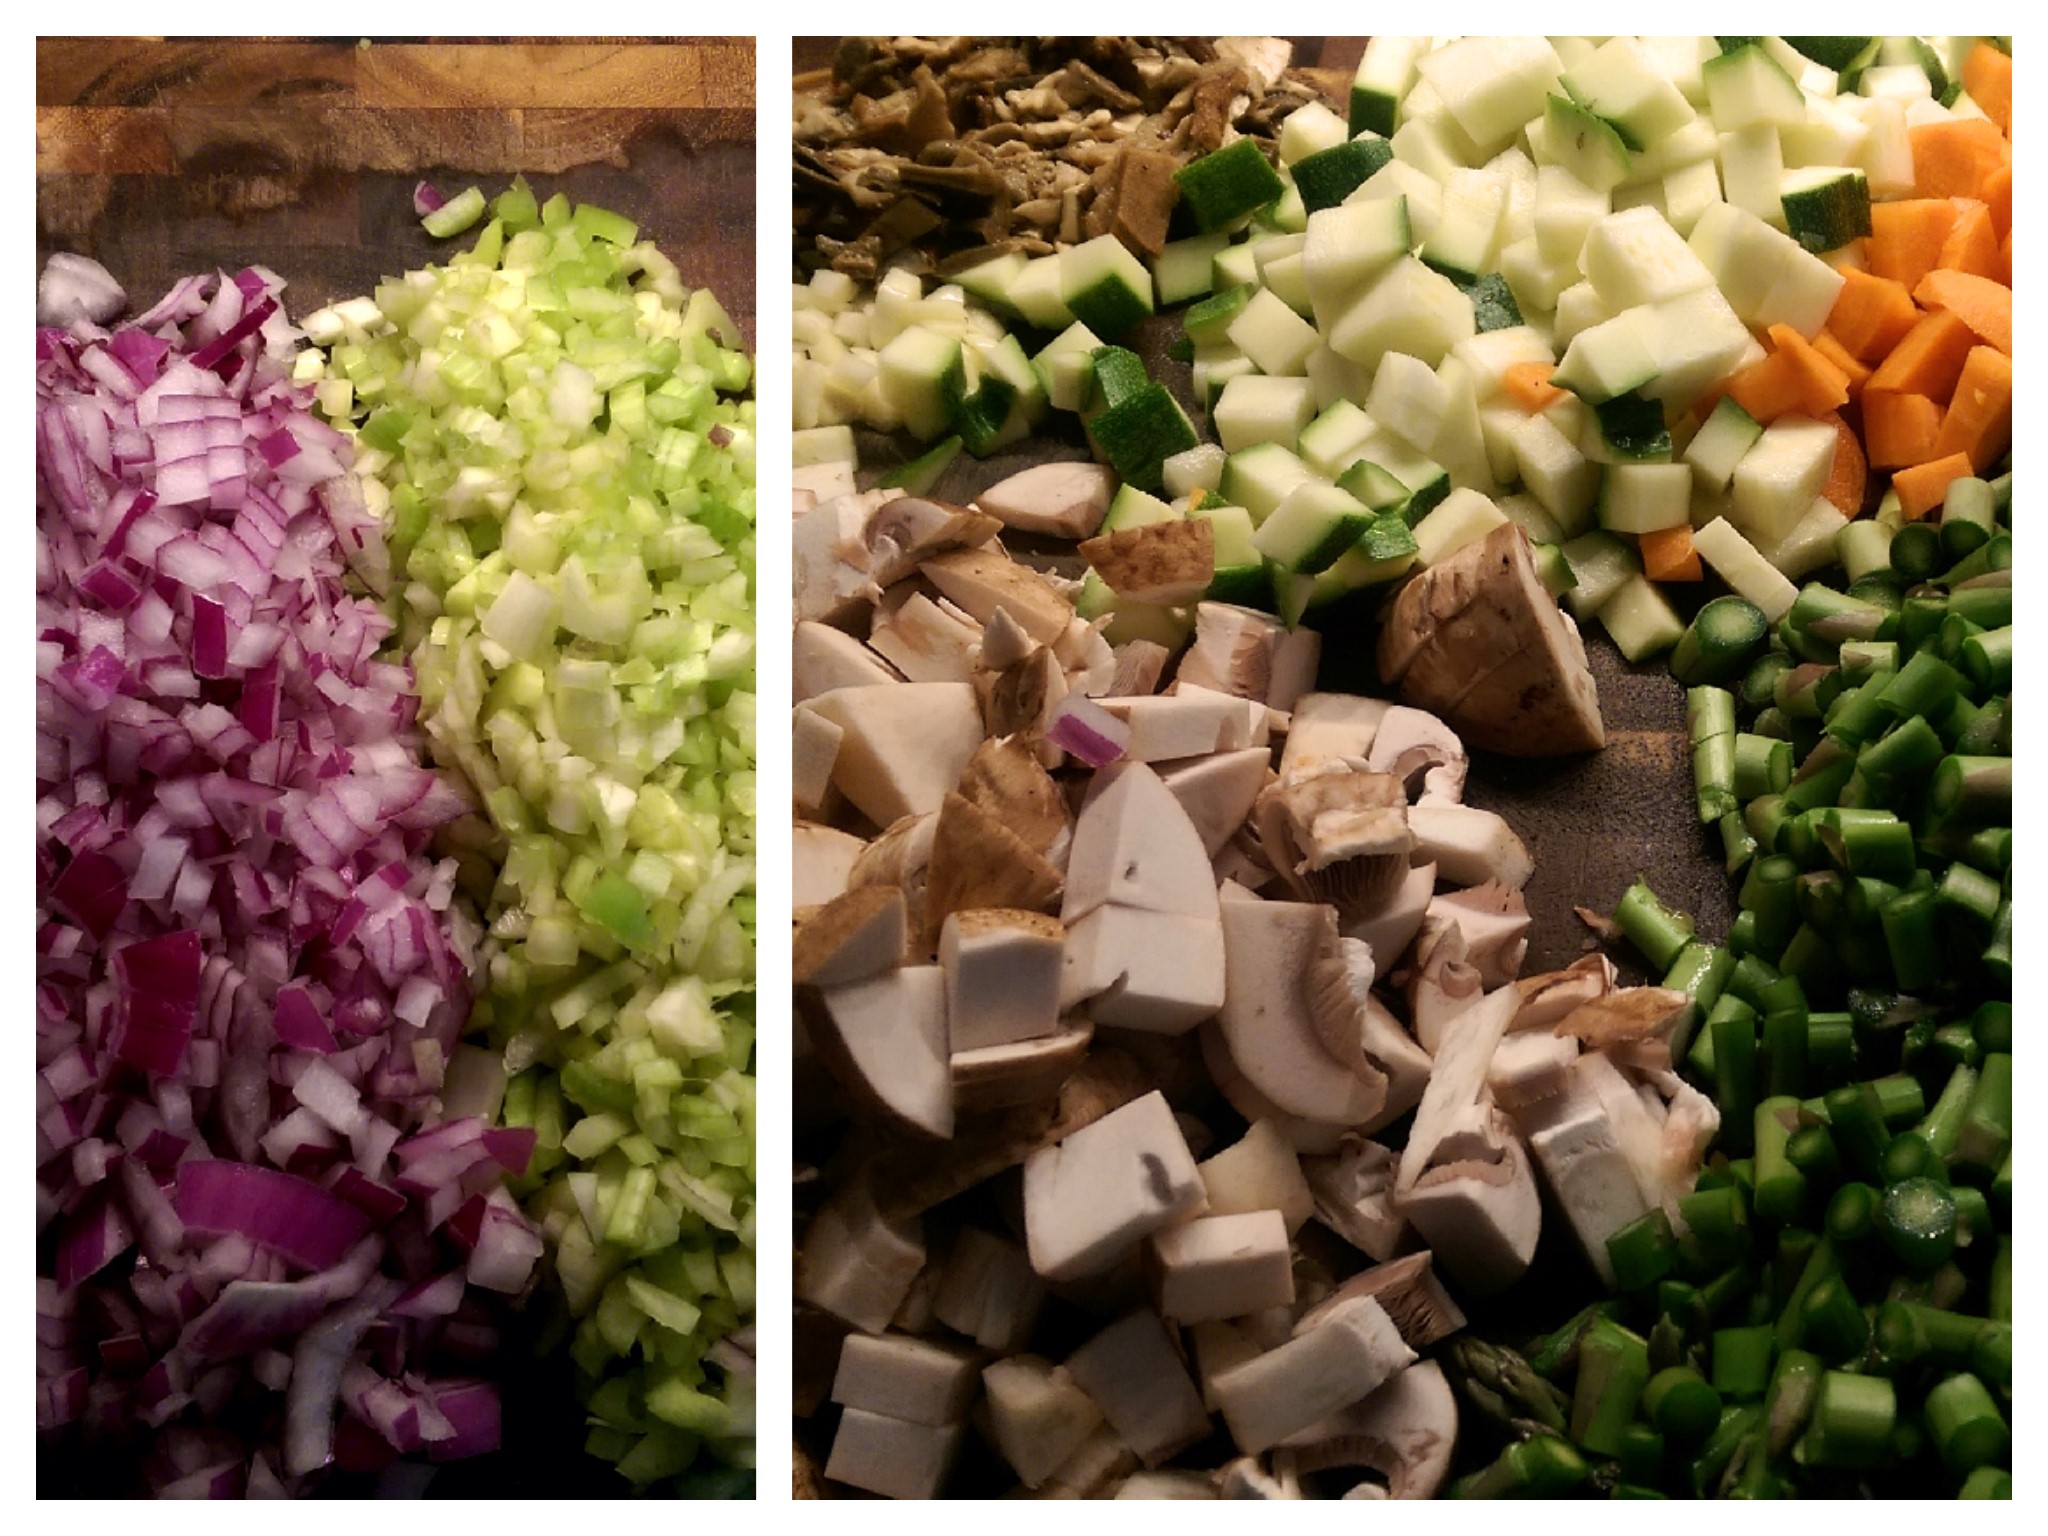
Chopped and ready to go
- Finely dice the onion, celery and garlic
- Roughly chop the asparagus, carrots, mushroom and zucchini into 1/4 inch (or smaller) pieces
- Drop a generous knob of butter and a large lug of olive oil into a large thick bottomed saucepan and heat slowly
- Add the onion and celery and gently fry these stirring until they soften
- Stir in the garlic and porcini mushrooms until combined
- Add the rice and stir in until the grains go translucent (tip – if required extra oil can be added to prevent the rice sticking)
- Pour in the Vermouth and stir until it evaporates
- Add the remaining vegetables to the pan and stir in slowly

Stock N’ Stirring
- Then, while constantly stirring, add the stock one ladle at a time to the pot until all the stock is exhausted (alternating vegetable with mushroom stock)
- After around 20-30 minutes the stock should be absorbed
- At this point, stir in most of the Parmesan cheese, parsley and seasoning

Serve immediately dusting each bowl with the remaining Parmesan and a drizzle of olive oil. Fall (and Spring) rice perfection
Buon appetito!